Last updated October 30, 2026
 Water damage drying
 Fire & smoke cleanup
 Mold remediation
 Storm response
 Sewage cleanup
 Reconstruction
Free visual inspection and a written scope of work before any mitigation begins - photos, moisture readings, and drying logs go in your claim file
The scope we write is the scope we bill. Anything new gets shown to you, in writing, before we touch it.
Get your free estimateWater Damage Restoration Troubleshooting: Common Problems and How to Fix Them
If your floor is buckling three weeks after a water damage crew signed off on your job, the instinct is to call a flooring company. The correct call is to demand moisture readings, because a premature sign-off is the restoration industry’s most common and most expensive mistake. Most “problems” that surface weeks after restoration aren’t new damage. They’re the fingerprints of an incomplete original dry-out. This guide gives Paradise homeowners and property managers the diagnostic framework to tell the difference between a restoration failure, a new leak, and normal material behavior, so you know exactly who to call and what to demand. For a deeper dive, see The Complete Guide to Damage Restoration in Paradise. We’ll walk through reading moisture meters, interpreting drying logs, identifying musty odors that aren’t mold, and building an escalation path that actually gets results.
Restoration work we handle
Quick Answer
Most post-restoration problems in Paradise homes fall into one of three categories: incomplete initial drying (the most common cause of buckling floors, re-appearing stains, and persistent odors), a new or recurring water source, or expected hygroscopic material response. The fix depends on which category you’re in, and the first diagnostic step is always taking moisture readings with a calibrated meter, not guessing based on visible symptoms alone. If readings show elevated moisture weeks after sign-off, the original restoration is incomplete and the contractor should be called back to finish the job.
Table of Contents
- The Three Categories of Post-Restoration Problems
- How to Read Residual Moisture With a Consumer Meter
- Restoration Failure: The Incomplete Dry-Out
- Re-Wetting: When a New Source Is the Culprit
- Hygroscopic Response: When Materials Behave Like Materials
- What a Proper Drying Log Looks Like
- Musty Odors That Aren’t Mold (And the One Case Where They Are)
- The Escalation Path: Contractor, Hygienist, or Insurance Complaint
- Common Mistakes to Avoid
- When to Call a Professional
- Frequently Asked Questions
- The Bottom Line
The Three Categories of Post-Restoration Problems
Every water damage complaint that reaches us weeks or months after a job falls into one of three buckets. Knowing which one you’re dealing with determines everything else: who’s responsible, what the fix costs, and how urgent it is. In our experience working across Paradise neighborhoods, homeowners who can correctly categorize their problem save themselves weeks of runaround and thousands in unnecessary repairs.
- Restoration failure (incomplete dry-out): The original crew stopped drying before materials reached their dry standard. Water was still trapped in structural cavities, subflooring, or wall assemblies when they pulled their equipment. This is the most common cause of buckling hardwood, re-appearing water stains, and musty smells that emerge two to six weeks after sign-off.
- Re-wetting (a new source): The original restoration was done correctly, but a new leak introduced water again. In Paradise, this often means a failed water heater, a pinhole leak in a supply line, a roof penetration opened by monsoon-season wind, or a condensate line that clogged after the first repair. The source is new; the symptoms look identical.
- Hygroscopic material response (expected behavior): Wood, drywall, and concrete absorb and release moisture in response to ambient humidity. After a drying project, materials may show minor dimensional changes, hairline cracks, or slight warping that stabilizes over time. This is not a failure; it’s physics. The challenge is proving that’s what you’re seeing.
The diagnostic approach we’re about to lay out works for all three categories. Start with measurements, not assumptions. Then work backward to the source. Then decide who owns the fix. If you’re in Paradise and unsure which bucket you’re in, the Valiant Water Damage home page outlines how our diagnostic process works before any drying equipment ever gets placed.
How to Read Residual Moisture With a Consumer Meter
You don’t need commercial restoration equipment to get a useful moisture reading. A $40 to $80 pin-type or pinless moisture meter from any hardware store will give you actionable data. The key is knowing what the numbers mean for your specific materials and your specific climate. In the Las Vegas Valley, ambient humidity runs low most of the year, which means dry standards are lower than what you’d see in coastal markets. A reading that’s “borderline” in Seattle is a red flag in Paradise.
What the numbers actually mean
- Wood (structural framing, subfloor): 6% to 9% moisture content is normal for interior wood in an air-conditioned Paradise home. 10% to 12% indicates elevated moisture that needs monitoring. Above 12% in structural wood weeks after restoration means the dry-out was incomplete or a new source is active.
- Drywall: Drywall should read below 1% on a drywall scale (or show as “dry” on most consumer meters). Any elevated reading on drywall weeks after a job is a red flag. Drywall hides moisture poorly; it wicks and deteriorates quickly once wet.
- Concrete slab: Concrete is trickier because it retains moisture for months. A relative humidity reading above 75% in a slab weeks after a water event suggests trapped moisture. Below 70% is generally acceptable for most finished floor coverings in Paradise’s climate.
- Hardwood flooring: The most important measurement is not the surface but the subfloor beneath. Surface readings can read dry while the subfloor is saturated. If you can access a floor vent or a gap at a baseboard, take a reading there.
A step-by-step approach
- Map the affected area. Take readings every 12 to 18 inches across the previously wet zone and at least 3 feet into the surrounding “dry” area to establish a baseline.
- Record the baseline first. Read an area you know was never wet. That’s your control. Compare every other reading against it.
- Look for gradients, not absolutes. A spike that drops off sharply usually indicates a localized issue (a pipe fitting, a door frame wicking from an exterior source). A uniformly elevated zone suggests trapped moisture from the original event.
- Take readings at the same time of day over several days. Materials release moisture slowly. A single snapshot tells you less than a trend.
- If readings stay elevated or climb, you have a problem that needs professional equipment, not more waiting.
When we perform water damage restoration in Paradise, we document baseline readings before equipment placement and log daily progress until every material hits its dry standard. That documentation is what protects homeowners when problems surface later. A crew that can’t show you a map of pre-dry and post-dry readings never actually verified the dry-out.
Restoration Failure: The Incomplete Dry-Out
The signature of an incomplete dry-out is timing. Problems that emerge two to six weeks after sign-off, with no new leak source, almost always trace back to water that was never fully removed. The damage was trapped inside wall cavities, under tile, behind baseboards, or in the subfloor. The surface looked dry. The equipment got pulled. Then the trapped moisture migrated, evaporated, condensed, and caused secondary damage that looks brand new.
Common fingerprints of restoration failure
- Buckling or cupping hardwood: Wood floorboards expand when they absorb moisture. If the subfloor wasn’t dried to standard before flooring was reinstalled or re-acclimated, the boards will warp within weeks.
- Re-appearing water stains on ceilings or walls: A stain that fades after drying but returns within a month usually means the original water source wasn’t fully stopped or the cavity behind the stain was never dried.
- Musty odor that develops weeks after the job: This is the most common call we get. The smell emerges as trapped moisture finally mobilizes and microbial activity starts in a wall cavity or under flooring.
- Paint or drywall bubbling at the base of walls: Moisture wicking up from a damp sill plate or slab will push through paint and joint compound until the surface fails visibly.
- Tile that was solid now sounds hollow or grout that’s crumbling: Water trapped under tile or in a mud bed weakens the bond and eventually causes delamination.
If you’re seeing these symptoms in a Paradise home weeks after restoration, the original contractor’s drying log should be your first request. A legitimate restoration company will have daily moisture readings and a final sign-off sheet that shows every affected material hit its dry standard. If they can’t produce that documentation, or if the documentation shows readings that were never re-verified after equipment removal, you have a strong case for a callback.
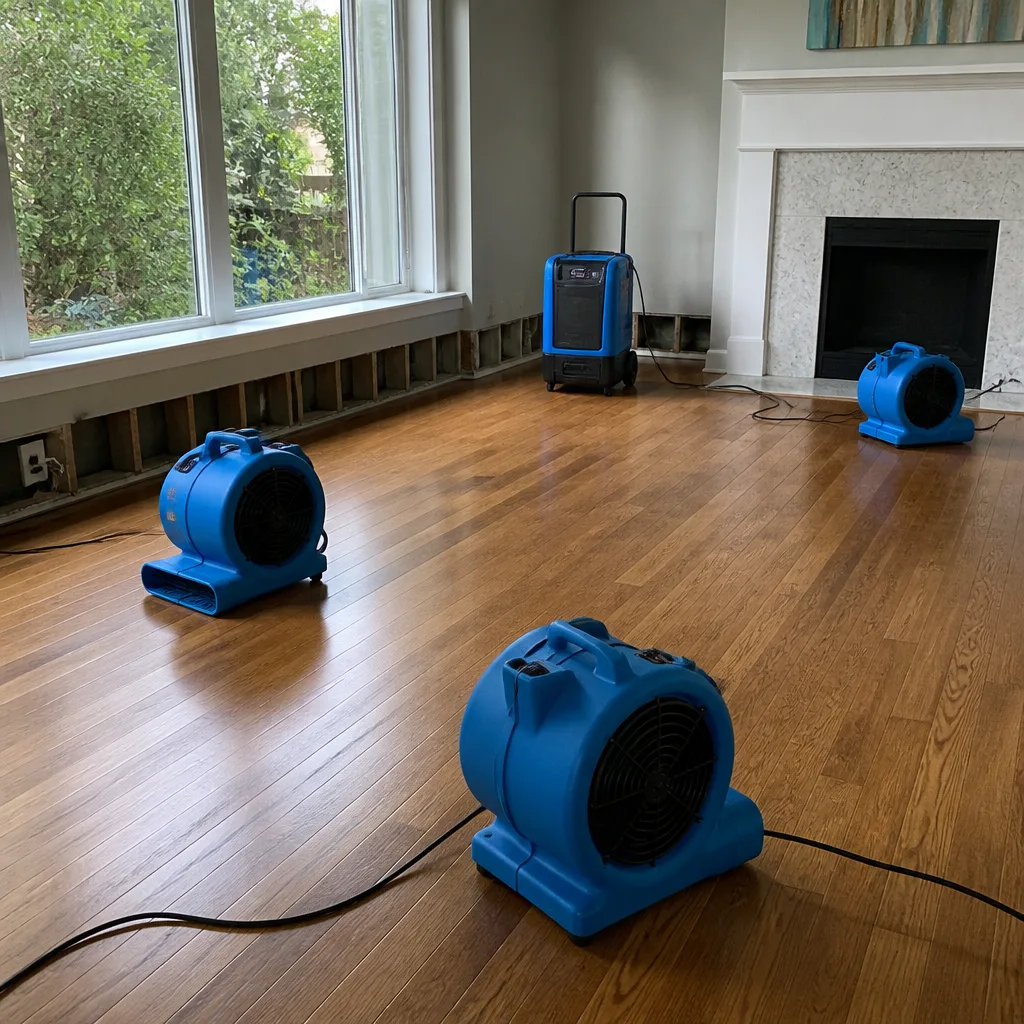
Our team runs Injectidry systems on jobs where water is trapped in structural cavities. The Injectidry approach uses targeted vacuum and airflow to dry behind walls and under floors without tearing everything out. That precision drying method means fewer callbacks for problems like the ones we’re describing, because the moisture gets addressed where it actually sits, not just where it’s convenient to place a fan.
Re-Wetting: When a New Source Is the Culprit
The second category is trickier because it looks identical to restoration failure but has a different origin. The original job was done correctly. Materials hit their dry standard. The drying log is complete. Then, three weeks later, the same baseboard is swollen again. The difference is that a new water source has introduced fresh moisture.
Common re-wetting sources in Paradise homes
- Water heater failures: In the Las Vegas Valley, hard water accelerates tank corrosion. A water heater that was fine during the original restoration can fail weeks later, flooding the same area.
- Supply line pinhole leaks: Copper pinholes and PEX fitting failures can develop slowly. The leak may have been present during the original restoration but too small to register on initial moisture mapping.
- Monsoon-season roof damage: High winds during Paradise’s summer monsoon months can lift flashing or dislodge roof tiles, creating a new leak path into the same ceiling cavity that was just dried.
- Condensate line clogs: AC condensate lines in the desert collect dust and debris. A clog can back up and overflow into a wall or ceiling cavity weeks after the original water event was resolved.
- Irrigation or exterior drainage issues: A landscape sprinkler head pointed at the foundation or a clogged scupper during a flash flood can re-introduce water to a perimeter wall.
How to tell re-wetting from restoration failure
- Check the original drying log. If the final readings showed the area at dry standard, the original job was likely complete.
- Turn off the main water supply overnight (if feasible) and re-take moisture readings the next morning. If readings drop, you have an active plumbing leak. If they stay elevated, the moisture is already trapped and the source may be closed.
- Inspect the obvious sources: water heater pan, AC condensate line, toilet wax ring, sink P-traps, exterior hose bibs, and roof penetrations in monsoon season.
- Check your water meter. If the small flow indicator is moving with all fixtures off, you have a leak somewhere in the system.
- Call a restoration company that can do a thorough source investigation. This is not a handyman job. Finding a pinhole leak behind a wall requires moisture mapping and, often, thermal imaging.
Re-wetting is frustrating because it feels like the same problem twice. But it’s a different problem with a different fix, and in our experience with Paradise properties, the fix usually starts with the plumbing or roofing issue, not the restoration work. Once the new source is stopped, the drying process starts again from scratch.
Hygroscopic Response: When Materials Behave Like Materials
Not every post-restoration change is a problem. Some of what homeowners see in the weeks after a water event is simply building materials responding to changes in ambient moisture. This is called hygroscopic response, and it’s the category most often misdiagnosed as restoration failure by well-meaning but inexperienced contractors.
Wood, drywall, concrete, and many flooring adhesives absorb moisture from the air and release it back. After a restoration project in Paradise, the indoor environment has typically been altered by the drying equipment itself. Humidity was driven down during active drying, then allowed to return to normal once the equipment was removed. Materials that dried in a low-humidity environment will re-absorb some moisture when the AC is running less aggressively or when outdoor humidity spikes during monsoon season.
What normal hygroscopic response looks like
- Hairline cracks in drywall or plaster: Materials shrink slightly as they dry, and minor cracking is expected. Hairline cracks are cosmetic; wide cracks or cracks that grow are a different matter.
- Slight gapping in hardwood flooring: Wood expands and contracts with seasonal humidity changes. After a drying project, boards may show slightly wider gaps for a few months before stabilizing. This is normal in Paradise’s low-humidity climate.
- Concrete slab showing a “sweating” appearance under certain conditions: This can happen when a slab is cooler than the dew point of the surrounding air. It’s condensation, not rising moisture, and it usually clears with better air circulation.
- Doors or windows that stick slightly for a few weeks: Wood frames can take weeks to fully stabilize after drying. If the sticking resolves over time, that’s hygroscopic response, not structural movement.
How to distinguish hygroscopic response from a real problem
The difference comes down to moisture readings over time. Hygroscopic response is a stabilization process. Readings will fluctuate slightly with ambient humidity but won’t show sustained elevation. A real problem shows readings that stay high or climb. Take measurements over a two-week period. If the trend is flat or downward, you’re likely seeing normal material behavior. If it’s climbing, you have a moisture source that needs attention.
We’ve seen Paradise homeowners spend thousands on “fixes” for hygroscopic response that needed nothing more than time and normal HVAC operation. Before you pay for repairs, verify with data that a problem actually exists. A reputable restoration company will tell you when the answer is “let it stabilize” rather than selling you a new round of work.
What a Proper Drying Log Looks Like
A drying log is the single most important document in a water damage restoration project, and most homeowners never see it. That’s a problem, because the drying log is the difference between a dry-out that holds up and a dry-out that fails quietly. In Paradise, where summer heat can mask moisture problems by accelerating surface evaporation, the drying log is even more critical. Surface evaporation in a hot attic or a sun-baked wall can make materials feel dry while water remains trapped behind them.
Essential elements of a legitimate drying log
- Initial moisture map: A diagram or labeled photo showing moisture readings taken throughout the affected area before any equipment was placed. This establishes the scope of the original problem.
- Baseline readings from unaffected areas: Readings from adjacent rooms or materials that were never wet. These provide the control for determining when affected materials have returned to normal.
- Daily readings from each affected material: Wood, drywall, concrete, and any other affected substrate should have readings logged at least once every 24 hours during active drying.
- Drying goals stated for each material: The log should specify the target moisture content or relative humidity for each material type. A log that says “dry” without a number is not a drying log.
- Equipment placement and changes: Notes on where air movers and dehumidifiers were placed, when they were moved, and why. This shows the drying strategy was adapted as conditions changed.
- Final sign-off readings: Readings taken on the last day of equipment operation, showing every affected material met its stated dry standard. These readings should be date-stamped and initialed.
Red flags in drying documentation
- No log exists. This is the most common finding when we’re called to inspect a failed restoration from another company. If the contractor can’t show you documented readings, they never verified the dry-out.
- The log shows only surface readings with no structural measurements. Surface readings on drywall or hardwood can read normal while the cavity behind them is still wet.
- Final readings were taken the same day equipment was removed, with no follow-up verification. Materials can re-absorb moisture quickly once drying stops. A legitimate sign-off includes readings taken after a stabilization period, usually 24 to 48 hours after equipment removal.
- The drying goals are missing or generic. A log that says “all materials dry” without specifying the target moisture content for wood, drywall, and concrete is not defensible documentation.
If you’re evaluating a restoration contractor in Paradise, see our guide on Choosing the Right Damage Restoration Brand: A Buyer’s Guide for Paradise for key questions to ask, and always request a sample drying log from a previous job before you sign anything. A company that documents its drying process properly is a company that stands behind its work. That documentation is your leverage if problems emerge later. We use Dri-Eaz and Phoenix equipment on our projects because these professional-grade dehumidifiers and air movers are calibrated to deliver consistent, measurable drying performance, which makes the log data reliable from day one.
Musty Odors That Aren’t Mold (And the One Case Where They Are)
A musty smell weeks after water damage restoration triggers an immediate fear: mold. Sometimes that fear is justified. Often it isn’t. The distinction matters because the remediation approach is completely different, and the cost difference is significant. In our work across Paradise, we’ve seen homeowners pay for full mold remediation when the actual fix was a simple cleaning or a dehumidifier adjustment. We’ve also seen homeowners ignore a genuine mold problem because they didn’t want to face the cost, which made the eventual remediation far more expensive.
Common causes of musty odor that are not mold
- Stagnant air in a previously closed space: After drying equipment is removed, a room that was sealed off for days or weeks may simply smell stale. Opening windows (when outdoor conditions permit) and running a fan for 24 to 48 hours often clears this.
- Dust and debris in ductwork: Water events stir up dust, and drying equipment blows air through the space. That dust settles in ducts and registers. A professional duct cleaning is often all that’s needed.
- Wet insulation that dried but retained odor compounds: Fiberglass and cellulose insulation can hold onto musty-smelling organic compounds even after the insulation itself reaches dry standard. Replacing the insulation is usually the fix.
- Adhesive off-gassing from new flooring or paint: Some adhesives and finishes release volatile organic compounds that smell musty or sour, especially in the first few weeks after installation.
- Odor absorbed into porous materials: Drywall, carpet, and upholstery can absorb odor molecules from a water event even after thorough drying. A professional cleaning or ozone treatment (done properly) can resolve this without remediation.
The one case where musty odor always means mold
If the odor is accompanied by visible discoloration on organic materials (drywall, wood, carpet padding), the probability of mold is high. Mold growing on drywall or wood produces a distinctive musty, earthy smell that cleaning won’t eliminate. The odor comes from microbial volatile organic compounds that the mold colony releases as it grows. If you see staining that’s green, black, brown, or gray on a surface that was wet, and the area smells musty, that’s mold until proven otherwise. In that situation, the right call is professional mold remediation in Paradise with containment, not a DIY cleaning attempt. Disturbing mold colonies without proper containment spreads spores and makes the problem worse.
A practical testing approach
- Ventilate the space thoroughly. If the odor dissipates quickly and doesn’t return, it was probably stale air, not mold.
- Inspect the previously wet areas with a flashlight. Look behind baseboards, under sink cabinets, and inside HVAC registers for visible growth.
- Take moisture readings in the odorous area. Mold requires moisture. If readings are normal and the odor persists after ventilation, consider non-mold odor sources.
- If you see visible growth or the odor persists after cleaning attempts, call a professional for testing and assessment. Air sampling is the most common method, but surface swabs or tape lifts are more useful when visible growth is present.
The distinction between odor and mold matters for your insurance claim too. Musty odor alone is usually not covered as mold damage. Visible mold growth documented by a professional is a different story. If you’re unsure which situation you’re in, get a professional assessment before making any decisions.
The Escalation Path: Contractor, Hygienist, or Insurance Complaint
When post-restoration problems emerge, the escalation path you choose determines how fast the problem gets resolved and who pays for it. Too many Paradise homeowners skip straight to anger or get stuck in a cycle of polite follow-up calls that go nowhere. Here’s the escalation path we recommend to our clients, structured to get results at each stage.
Step 1: Contact the original contractor with documentation
Start with the company that did the original work. Send a written summary of the problem, include your moisture readings and photos, and request their documented drying log from the original job. Be specific: “I have moisture readings of 16% in the hardwood flooring in the hallway that was part of your restoration scope on [date]. Please provide your daily drying log and final sign-off readings for that area.” Contractors who did the job correctly will respond with documentation and schedule a re-inspection. Contractors who cut corners will deflect, delay, or disappear. Their response tells you everything.
Step 2: Escalate within the company
If the project manager or technician who did the work isn’t responsive, ask for the company owner or operations manager. In writing, summarize your previous contact attempts and restate the problem. Many restoration issues get resolved at this level because owners care about their reputation and insurance rates more than a project manager does.
Step 3: Bring in an independent industrial hygienist
If the original contractor disputes your findings or refuses to re-inspect, hire an independent industrial hygienist. This is a professional who tests for moisture and mold without any financial interest in the outcome. A hygienist’s report is the gold standard for insurance claims and legal disputes. Expect to pay $500 to $1,500 for a thorough assessment in Paradise, but the report usually pays for itself by forcing the responsible party to act.
Step 4: File a complaint with the Nevada State Contractors Board
If the original contractor is unresponsive and the hygienist confirms incomplete drying or improper workmanship, file a complaint with the Nevada State Contractors Board. Include all documentation: your original contract, the drying log (if you have it), the hygienist’s report, and your correspondence. The Board can investigate, levy fines, and in some cases order restitution. This step carries weight; contractors take Board complaints seriously.
Step 5: File an insurance complaint or supplemental claim
If the original restoration was covered by insurance and the work was incomplete, contact your adjuster. Provide the hygienist’s report and request a supplemental claim for the additional drying and repairs. Insurance companies have their own remedies when a preferred vendor does substandard work, and they may cover the cost of the corrective restoration. If the insurance company refuses, you can file a complaint with the Nevada Division of Insurance.
This escalation path works best when you have documentation at every step. Moisture readings, photos with timestamps, written correspondence, and the original drying log are your leverage. Without documentation, you’re relying on someone else’s word, and that puts you at a disadvantage. A restoration company that takes its work seriously will be the one handing you documentation proactively, because that documentation protects them as much as it protects you.
Common Mistakes to Avoid
- Calling a flooring company before checking moisture readings. If your floor is buckling and the subfloor is still wet, new flooring will fail the same way. You’ll pay twice and still have the underlying problem. Measure first.
- Assuming any musty smell means mold. Most post-restoration odors in Paradise homes are stale air, dust in ducts, or off-gassing from new materials. Get a professional assessment before spending on remediation.
- Accepting a verbal “everything looks dry” without documentation. A drying log with actual numbers is the only proof that a dry-out was completed. If the contractor can’t produce one, the job isn’t done.
- Waiting to see if the problem resolves on its own. Trapped moisture doesn’t self-resolve. It migrates, causes secondary damage, and gets more expensive to fix the longer it sits. Early intervention is always cheaper.
- Hiring a general handyman to fix water damage problems. Water damage restoration requires moisture mapping, structural drying knowledge, and equipment that general contractors don’t carry. A handyman with a shop vac is not the same thing as a restoration crew with professional-grade dehumidifiers.
- Filing an insurance claim without photos and moisture data. Insurance adjusters respond to evidence. Photos taken before, during, and after the problem emerged, plus moisture readings, make your claim faster to process and harder to deny.
- Not documenting the original restoration job. Request the drying log and final sign-off before you sign the completion paperwork. Once the job is closed, getting that documentation becomes much harder.
When to Call a Professional
Some problems are worth investigating on your own. Others need professional equipment and training. Call a restoration company when moisture readings stay elevated over multiple days, when you can’t identify a new water source for re-wetting, when visible mold growth appears on building materials, when a musty odor persists after ventilation and cleaning, or when floors are buckling, walls are bubbling, or tile is delaminating. These are structural problems, not cosmetic ones. Valiant Water Damage offers our Water Damage Restoration services with free estimates in Paradise. Call (844) 716-1094 and we’ll send an IICRC-certified technician to map the moisture and tell you exactly what you’re dealing with, even if the original job was done by someone else.
Frequently Asked Questions
Most incomplete dry-out problems surface two to six weeks after equipment removal. This is the window where trapped moisture migrates, evaporates, and causes visible symptoms like buckling floors, re-appearing stains, and musty odors. Re-wetting from a new source can happen at any time, but is most common within the first three months when hidden leaks finally reveal themselves.
If the original restoration was covered by insurance and the work was incomplete, most policies will cover corrective drying as a supplemental claim. You’ll need documentation: the original drying log, your moisture readings, and ideally an independent hygienist’s report. If a new leak caused the re-wetting, coverage depends on your policy’s specific terms for the new source, but most Paradise homeowners’ policies cover sudden and accidental water damage from plumbing failures and appliance leaks.
Yes, and you should. A $40 to $80 pin-type moisture meter will give you reliable data for wood and drywall. The key is establishing a baseline from an unaffected area and taking readings consistently over multiple days. Consumer meters aren’t as precise as professional equipment, but they’re more than adequate for identifying a problem that needs professional attention.
A restoration company uses professional-grade drying equipment (dehumidifiers, air movers, Injectidry systems), follows IICRC dry standards, maintains daily drying logs, and can verify with moisture readings that the space actually dried. A handyman typically uses rental equipment or none at all, can’t verify dry standards, and has no documentation to stand behind. The difference shows up weeks later when problems emerge from the handyman’s job.
Not always. Many musty odors resolve with ventilation and cleaning. If you see visible growth on building materials, if the odor persists after thorough cleaning, or if you have respiratory symptoms that worsen in the affected area, then professional testing and assessment is warranted. Air sampling is common, but surface testing of visible growth is more useful for determining whether remediation is needed.
Paradise’s desert climate creates a specific challenge: extreme heat and low humidity dry surfaces quickly, which makes materials feel dry and leads some contractors to sign off before structural cavities are actually dried. Then monsoon-season humidity spikes reintroduce moisture to those cavities, and problems emerge. The climate rewards thorough structural drying but punishes surface-only drying, which is why drying logs and verified dry standards matter so much here.
The Bottom Line
Most water damage problems that appear after restoration aren’t new damage. They’re the evidence that the original job wasn’t finished. The difference between a failed restoration, a new leak, and normal material behavior comes down to moisture data, not visible symptoms. Take readings, demand the drying log, and use that documentation to hold the right party accountable. If you’re in Paradise and you’re seeing buckling floors, re-appearing stains, or musty odors weeks after a water damage job, don’t guess. Call Valiant Water Damage at (844) 716-1094 and we’ll map the moisture, identify the source, and tell you straight what needs to happen next. Our IICRC-certified technicians run Dri-Eaz and Phoenix equipment on every job, and our full-spectrum capability means one call covers fire damage restoration in Paradise and water damage restoration in Paradise alike. When damage strikes, Valiant answers.
Written by the team at Valiant Water Damage, serving Paradise since 2016. Explore more guides & resources on our blog.
See the difference
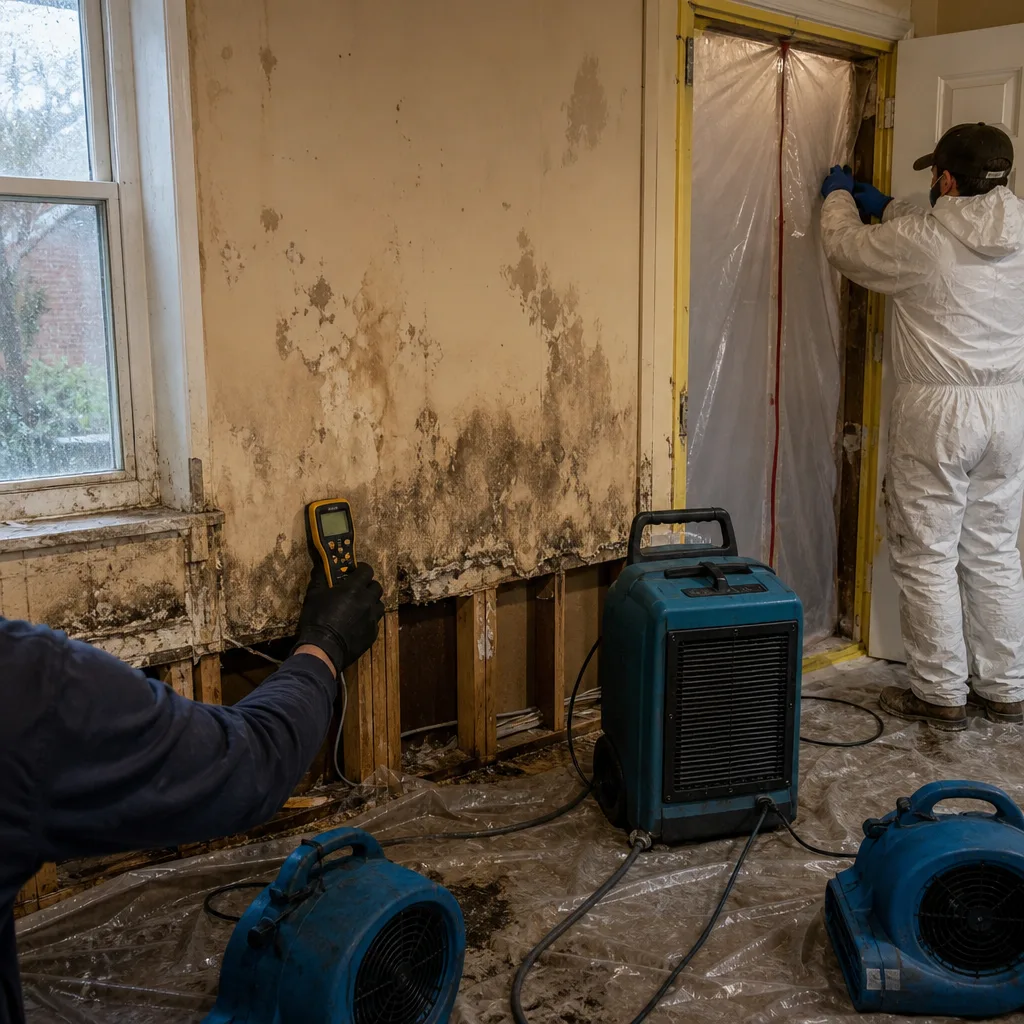 Before
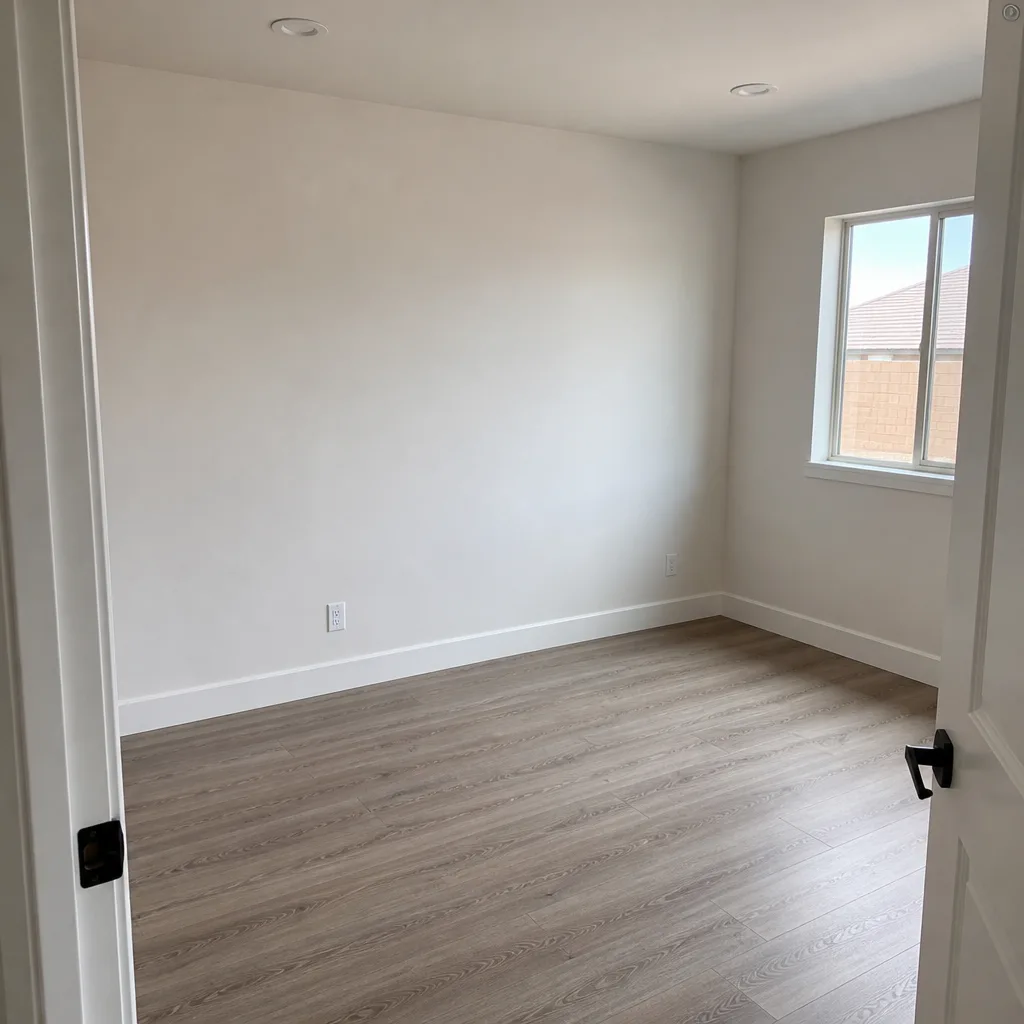 After
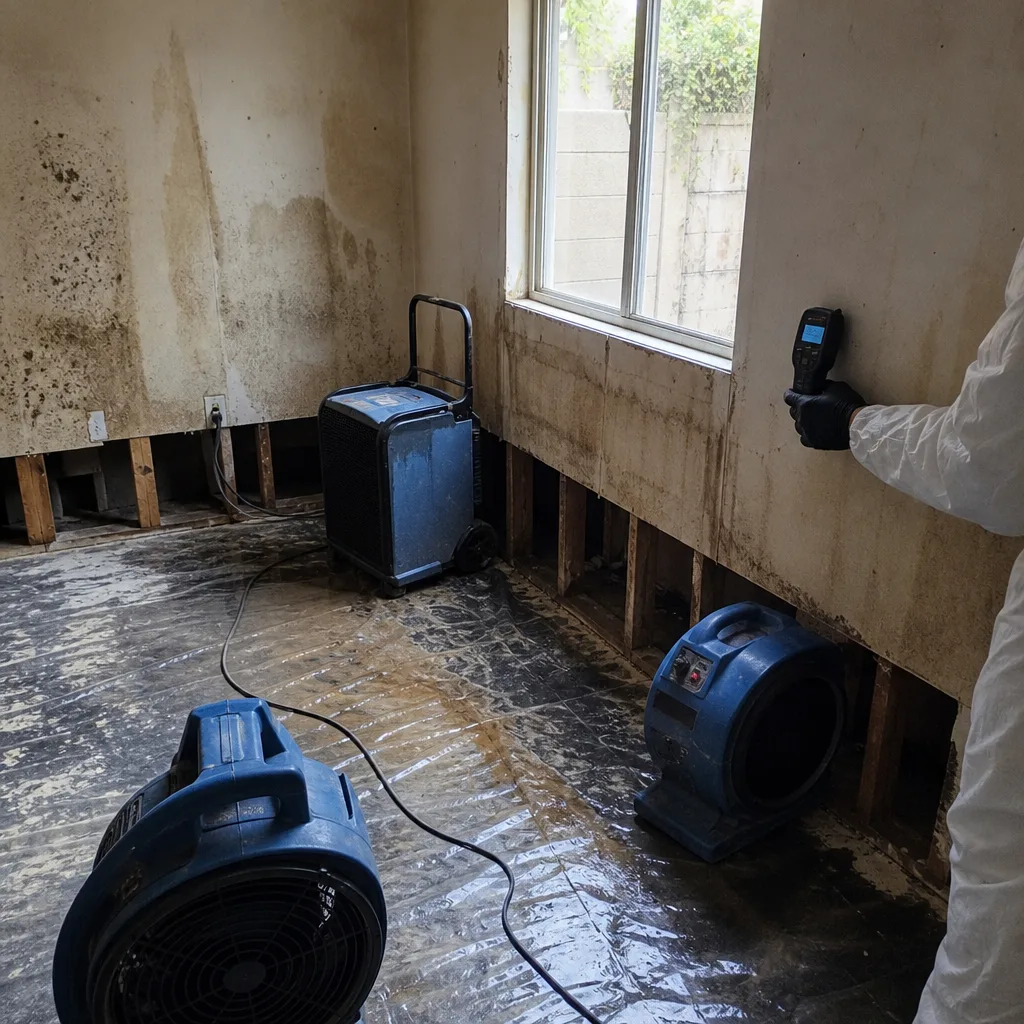 Before
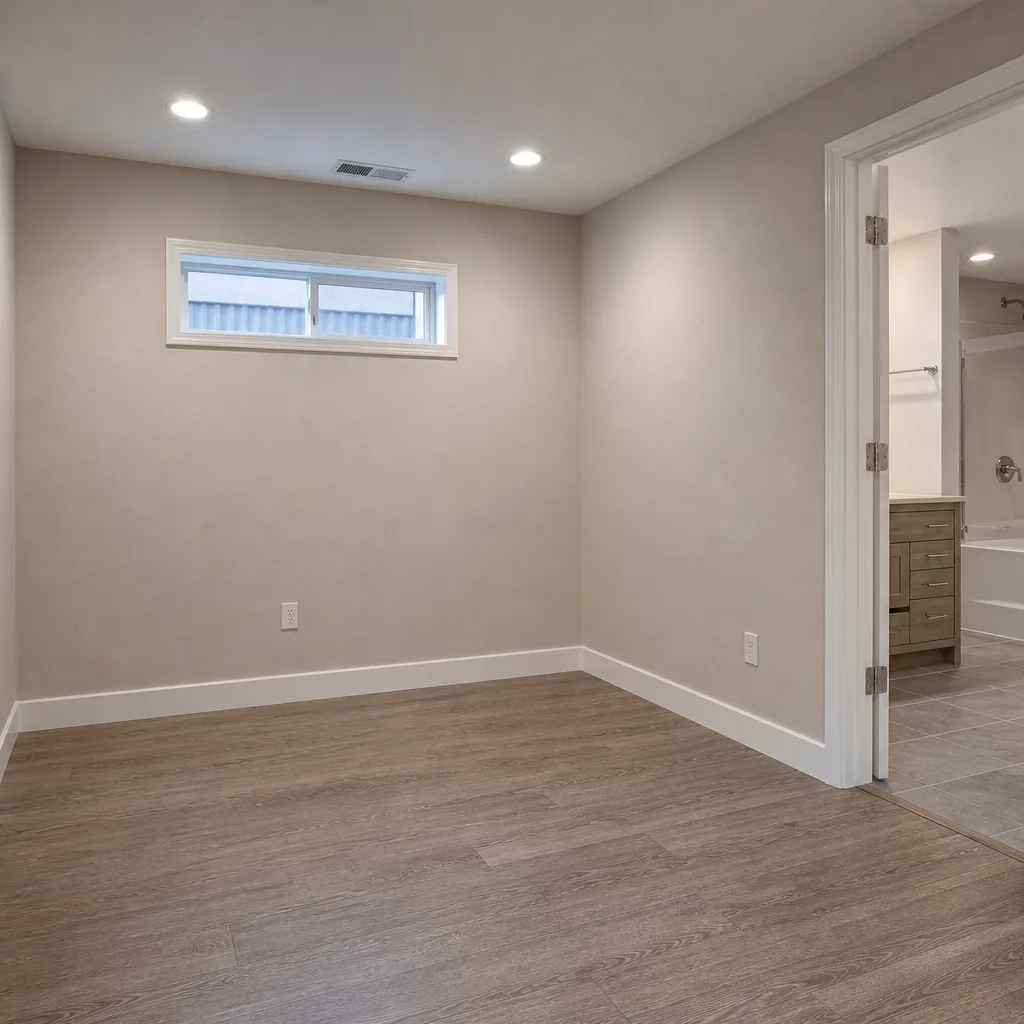 After
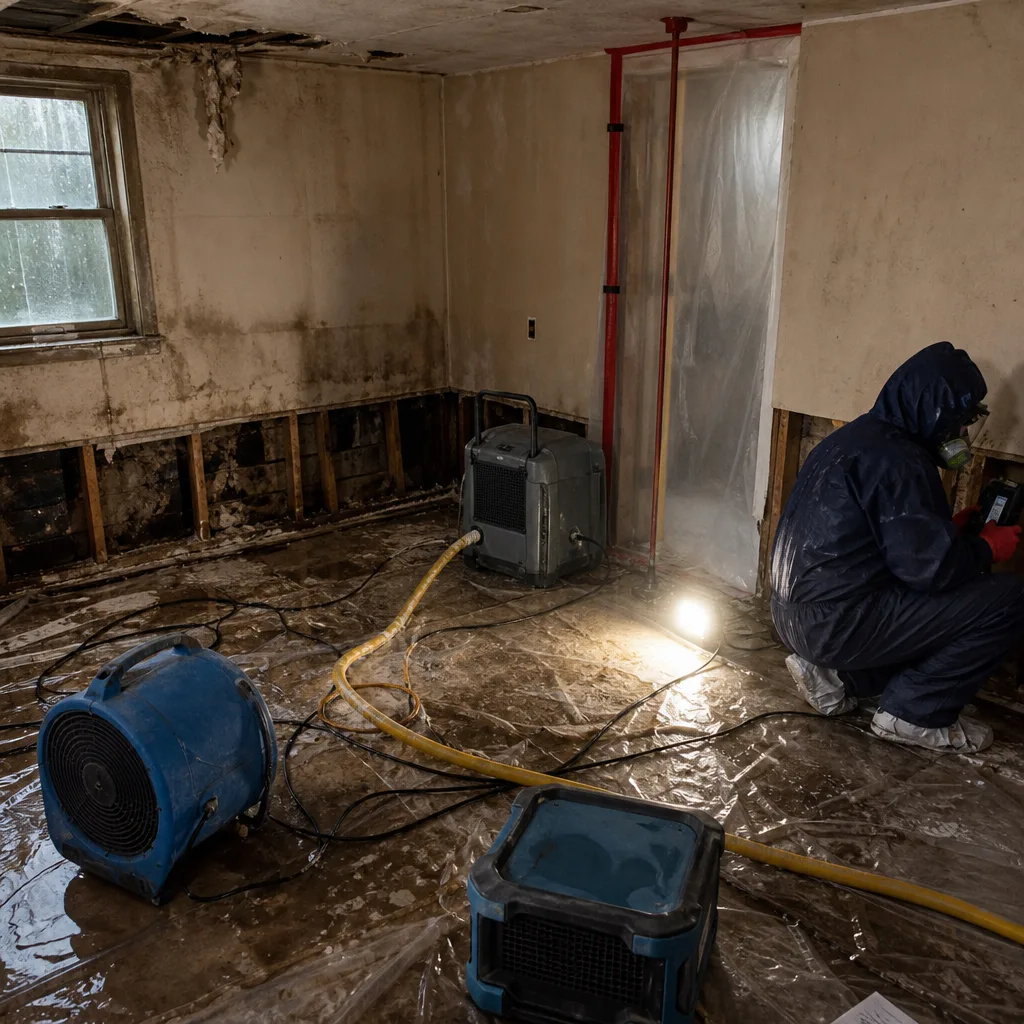 Before
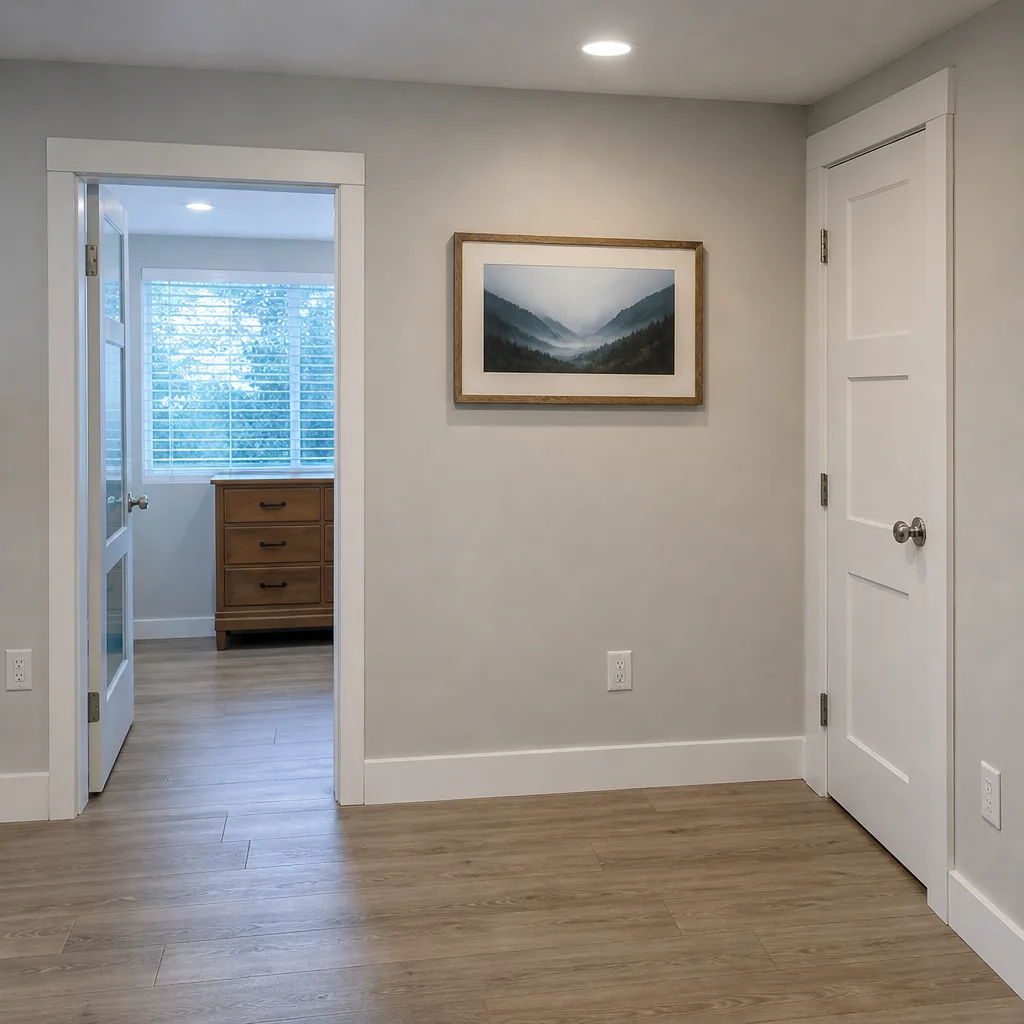 After